Just so you know, as an Amazon Associate we earn from qualifying purchases made via bold red links, buttons or images.
Last Updated on December 10, 2023
If coffee is your religion, then with the Hario V60 you have reached the promised land.
Making your own pour-over coffee is quite hipster, but more importantly you can produce an incredible cup. Once you learn how to brew with the Hario V60, you can get the fresh taste of coffee at home at a fraction of the price you might pay in a specialty coffee shop.
The process also has a certain visual appeal, almost like a performance, so it can be a great way to entertain guests who aren’t familiar with the brewing method.
Brewing coffee can be daunting. I get it. There are a lot of factors to consider when you’re aiming for the perfect cup of Hario V60 coffee. Is a regular kettle sufficient? How do you nail the coffee-to-water ratio? What kind of cup should you use?
Trust me when I say that your brewing process will improve with time and practice. This guide to brewing coffee with your Hario V60 will help demystify the pour-over coffee method.
Why we like the Hario V60
The Hario V60 is manufactured by the Japanese company, Hario. It’s known for its signature V-shape which is at 60-degree angle from the horizontal—hence, the name.
The Hario V60 comes in various materials such as glass or metal. We suggest the ceramic version, but they all work. It’s a reliable and simple piece of equipment that anyone can use.
It doesn’t take much to keep a ceramic Hario V60 clean and sturdy. You can leave it in the sink with the coffee grounds to dry out and then toss the paper filter into your compost or food scraps bin. You can hand wash the filter if you’d like, but it is dishwasher-safe as long as it’s placed on the top rack! (This is why I like the ceramic filter, but anything that fits your preference is the way to go.)
How to brew with a Hario V60
What you need
- Hario V60
- 20 grams of coffee beans or ground coffee
- Hario filters
- gooseneck kettle
- decanter
- scale
- coffee grinder (if working with coffee beans)
- cup
- water
Total time: 2-3 minutes
Step-by-step instructions
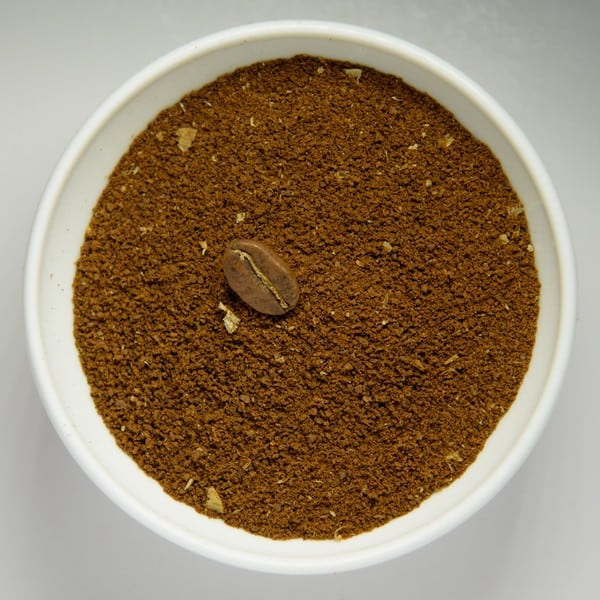
1. Prepare water and beans
Before getting into technique, we must prepare our water and our coffee beans. Heat 340 grams of water until it reaches around 200 F. In the meantime, take your coffee grinder and grind up 20 grams of beans at a medium grind. Fine grinds or a coarser grind could affect the taste of your coffee in a not-so-pleasing way!
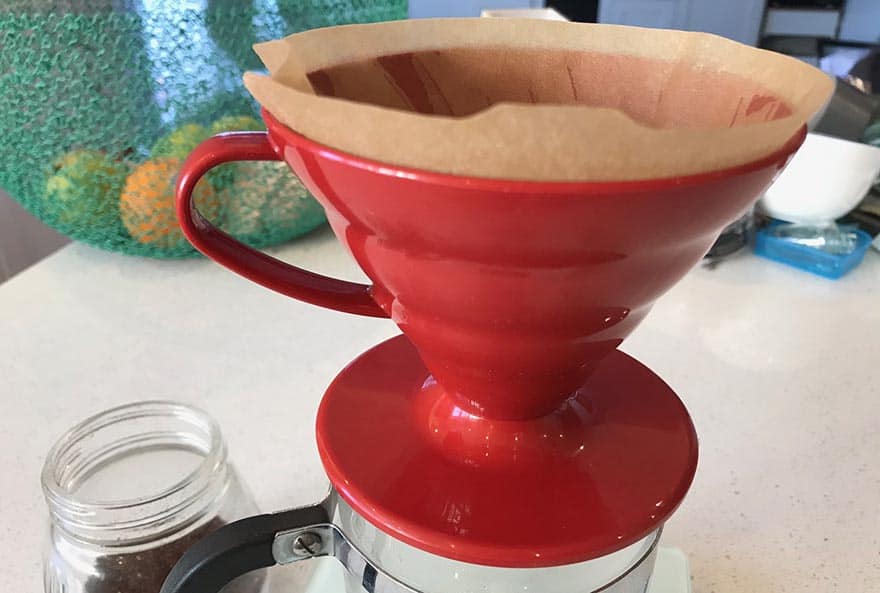
2. Prepare the filter
Fold the seam of your V60 paper filter and place it into the cone of your Hario V60.
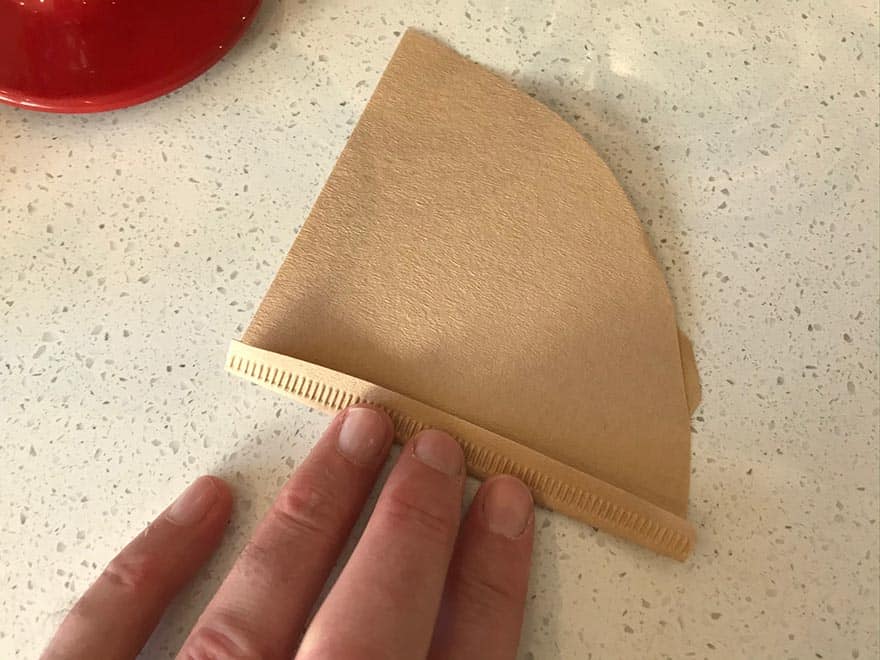
It should fit like a glove. Once your water has reached the desired temperature, use your gooseneck kettle to wet the sides of the paper filter in the cone.
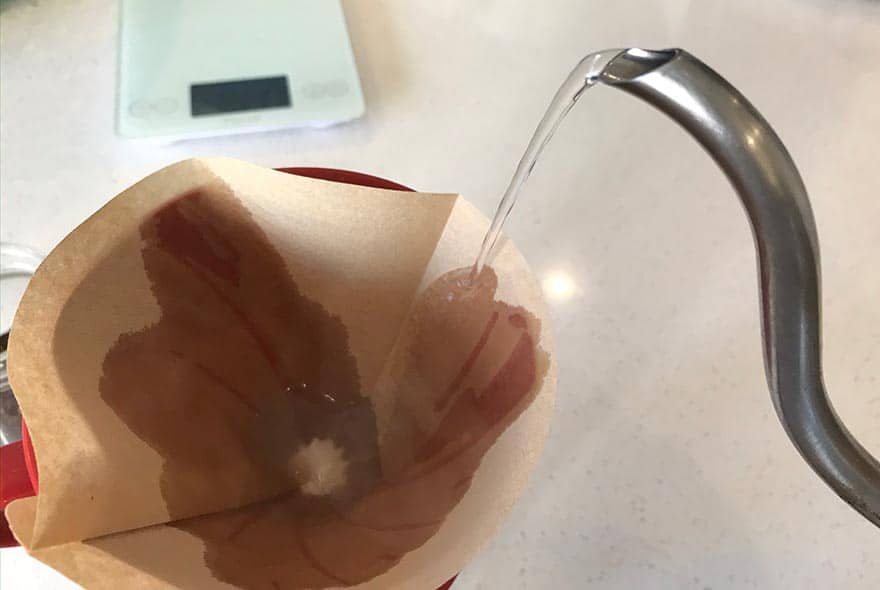
This rinsing washes away any paper taste and also helps bring the filter up to temperature.
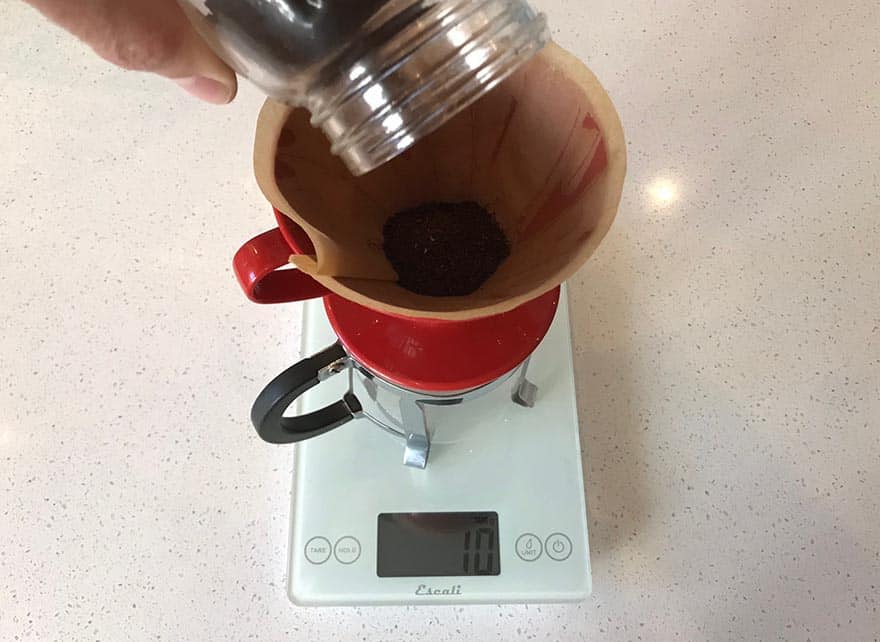
3. Weigh your beans
Place the Hario V60 on top of your decanter and place it on your scale. (The decanter can be any receptacle with an opening narrow enough to mount the V60. Ideally it will have a handle and spout for easy pouring.)
It’s time to add the coffee grounds. Tare the scale back to zero before pouring them into the filter. You want to get to about 17 grams—slightly more for stronger coffee, slightly less for weaker coffee.
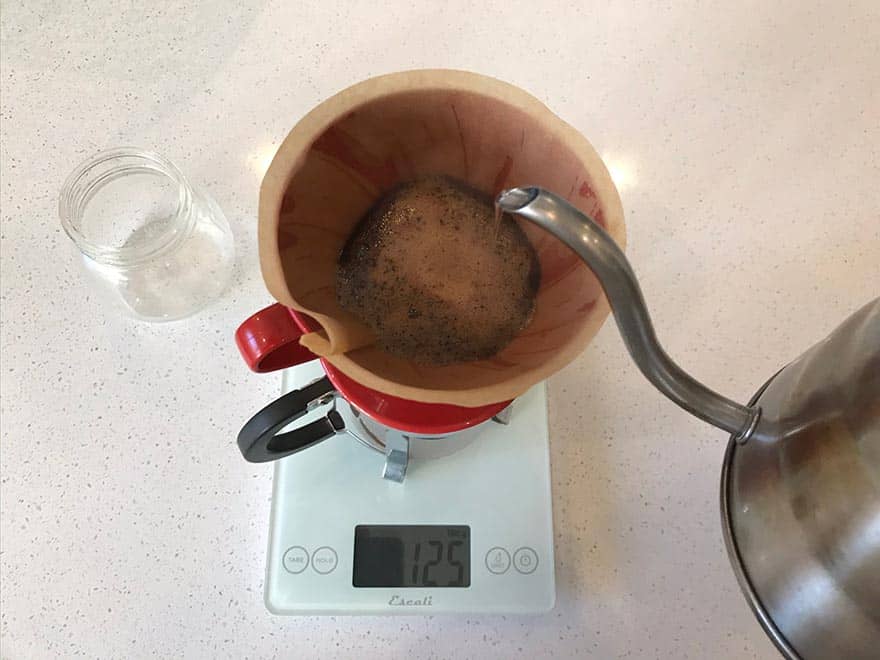
4. The bloom
The time has come. Pour the hot water in concentric circles and in a steady stream, starting from the center. Stay away from the sides for now, and do this circular motion until the scale reaches 60 grams.
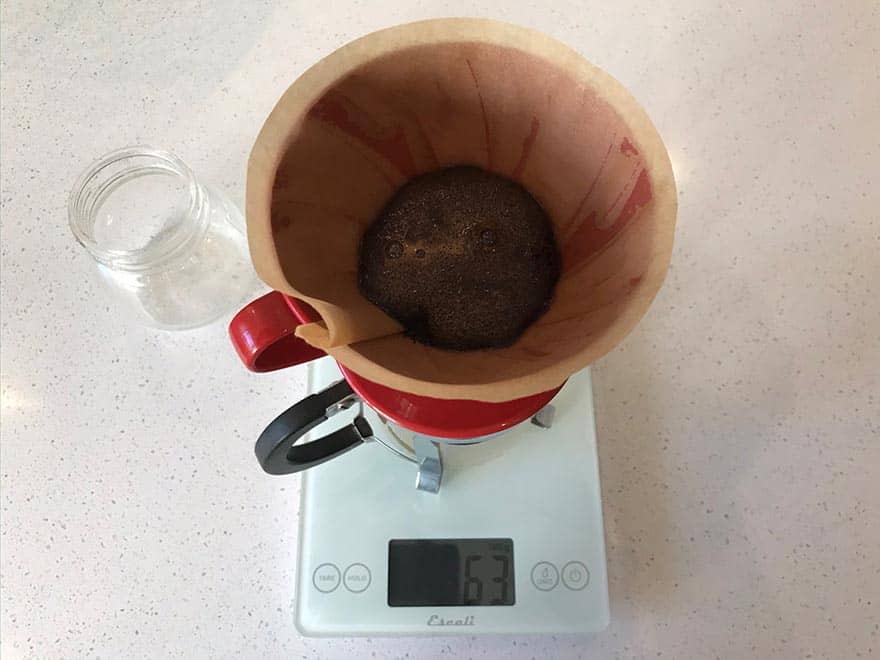
Then let the coffee breathe. The bed of grounds should bloom. You’ll see bubbles. This process is purging the gases from the coffee. If you had poured all the water at once, then the gases would be trapped in the coffee and it would turn out sour and gassy. Let her bloom for about 30 seconds.
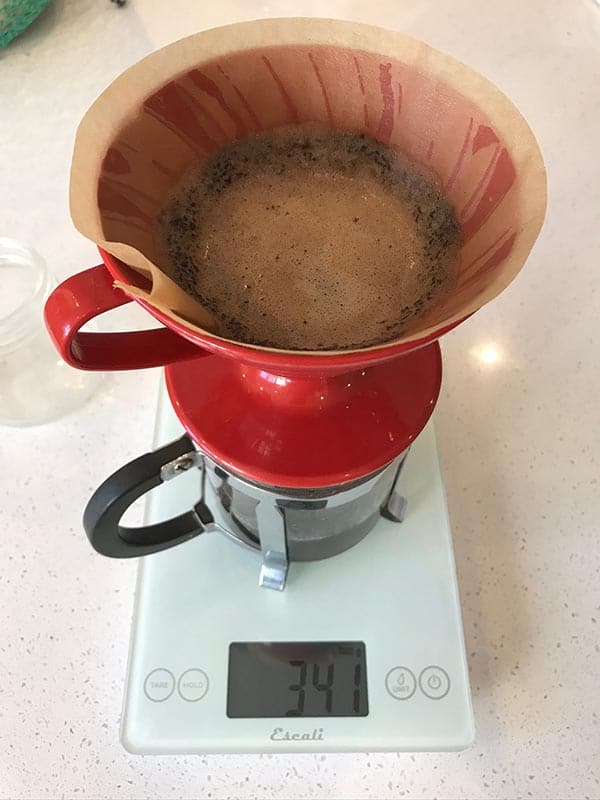
5. The pour
After 30 seconds, get right back to it. Start from the center again and push outwards. This time you can do the sides to help any coffee grounds that have become stuck find their way back home to the bed. Once you reach 200 grams, stop again for 30 seconds.

Then, we’re back at it again for the final time. Apply the same technique as the last step, but this time stop when it reaches 340 grams. You may be close to the end of your water by this point.
Allow the water to drain, and take a moment of reflection on your pour-over adventure. Once it seems like it can’t spare anymore liquid gold, then give the decanter and a nice swirl and voila! You’ve got coffee. We’ve arrived at our destination, but of course, with a taste of your coffee you’ll see that it was the journey that mattered all along.
As you can see, the brewing time is nothing to be afraid of. This process can be quite quick and easy with practice.
I like drinking my pour-over as a hot brew, in the way I just described it, but you can take it cold as well. Just make it a bit stronger and add a couple of ice cubes when you’re done. You’ll be well on your way to enjoying a nice cup of strong Japanese iced coffee.