Just so you know, as an Amazon Associate we earn from qualifying purchases made via bold red links, buttons or images.
Last Updated on December 8, 2023
To beginners, coffee roasting seems like one of those crafts people spend years learning and perfecting. And many do. But that doesn’t mean it’s difficult to get started. The truth is, if you can make popcorn, learning coffee roasting is easy—a bit messier at times, but just as easy. In fact, roasting coffee in a popcorn popper is one of the methods you’ll learn in this guide to coffee roasting for beginners.
We’ll take you through coffee roasting basics, the stages of a coffee roast, home coffee roasting equipment you should have on hand, and tips for buying green coffee beans. Then we’ll show you:
These two roasting methods are by far the easiest for beginners. You can buy a small batch of green coffee beans, give roasting a try, and if it seems like something you’d like to continue, we’ll make some suggestions for next steps.
Advantages of roasting coffee beans at home
Fresh coffee
Freshness is the big advantage of roasting at home. Coffee beans begin to decline in quality within one or two weeks of roasting. If you buy off the shelf at the supermarket, there’s a good chance those beans have already passed the two-week mark before they even land on the shelves. And once you buy them, how long is it going to take you to get through that pound?
When you roast at home, you can roast in small batches once or twice a week, so your coffee is always at optimum freshness. You’ll taste the difference in the cup.
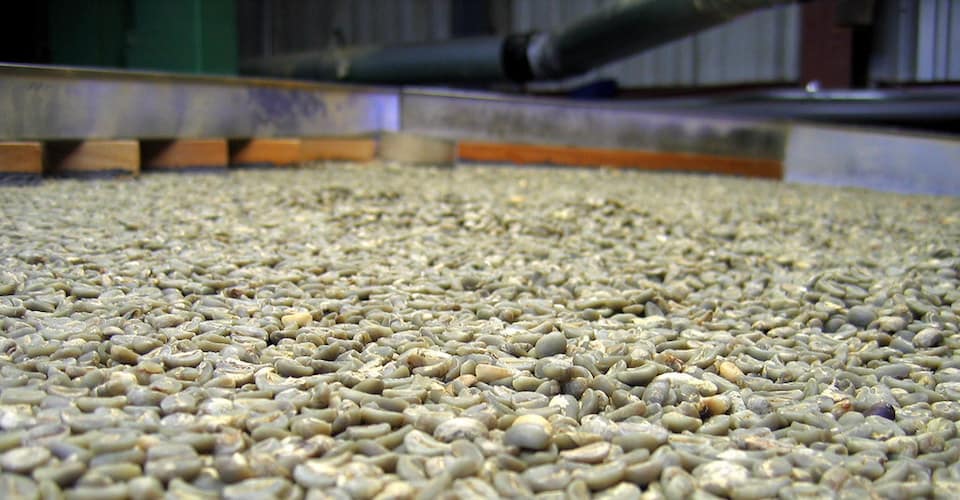
The other nice thing is that green coffee beans—the raw product you’ll be roasting—can be stored for more than six months without any loss in quality. The clock doesn’t really start ticking until they’re actually roasted, so you can buy in big batches and roast in small batches.
Home coffee roasting is cheaper
You’ll save money by roasting at home. Let’s take a look at the math.
Artisan roasters in Vancouver, where I live, charge about $25/pound. The folks who sell green beans for home-roasting charge $12.50/pound. That’s half as much. (If you’re in the U.S., the dollar figures will be lower, but the savings will be similar.)
So if I buy five pounds of green beans it will cost me $62.50. Now, beans lose up to 20 per cent of their mass during roasting, so I might end up with only four pounds of roasted beans for that price, which works out to $15.60/pound. I’m still saving about $9.40 per pound.
If I drink one mug of coffee per day, I go through about 15 pounds of coffee per year. The savings add up to $140 over the course of a year. Convert to American dollars and it’s about $110.
I’m getting fresher coffee at a much lower price.
Choice and variety
When you buy roasted beans, you’re limited to whatever your local roasters choose to roast. When you roast your own, there are online vendors all over North America who will sell you just about any kind of bean you want.
If you are truly interested in learning about coffee and its regional differences, home roasting gives you all the choice and flexibility you need to do so. It can be fascinating.
Control over the roast
If all the regional variations in raw coffee beans don’t provide enough schooling for you, just wait until you get into the intricacies of roasting. Experimenting with all the variables you control during roasting is a huge part of the fun.
Home coffee roasting is quick and easy
In most cases, the total time it takes you to roast a batch of coffee beans will be between five and 15 minutes. That’s a pretty small investment for a week’s worth of great-tasting coffee.
And as mentioned at the top of this post, it’s not difficult. You’ll learn two of the easiest methods below.
Use the cheap and easy methods to start. Learn the basics. Then, when you’re ready, you may want to look into buying one of the home coffee roasters we recommend for taking your roasts to the next level.
Coffee roasting basics
A coffee bean isn’t actually a bean at all. It’s a seed that comes from the inside of a small fruit. It’s a lot like a cherry pit. In fact, the fruit is often called a coffee cherry.
The plant on which this fruit grows is from the genus Coffea. There are many species, but the one most commonly associated with good coffee is Coffea arabica:
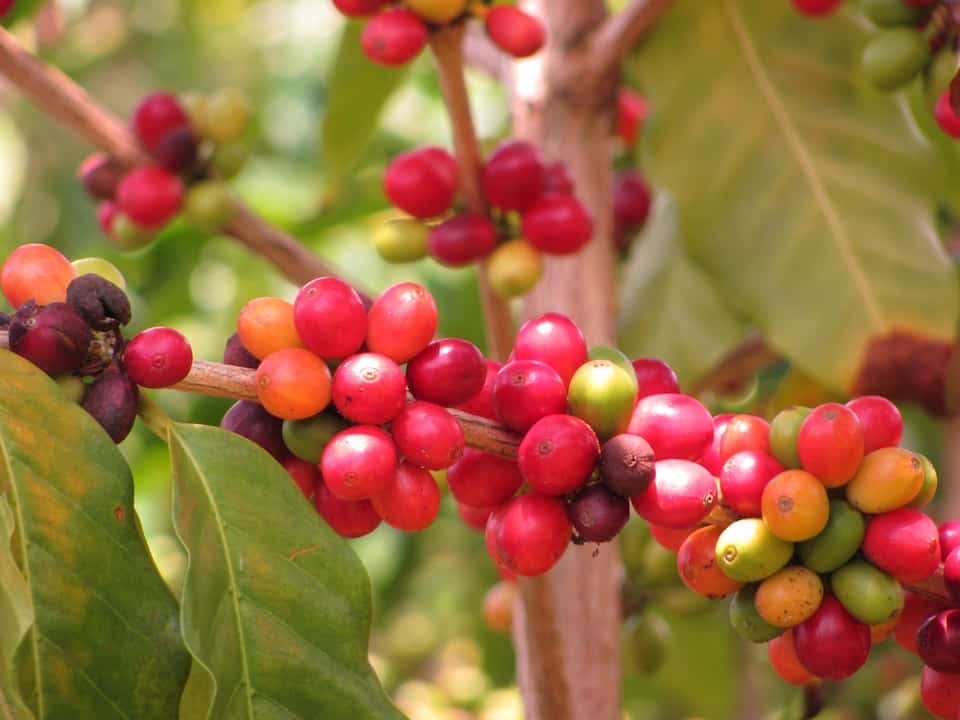
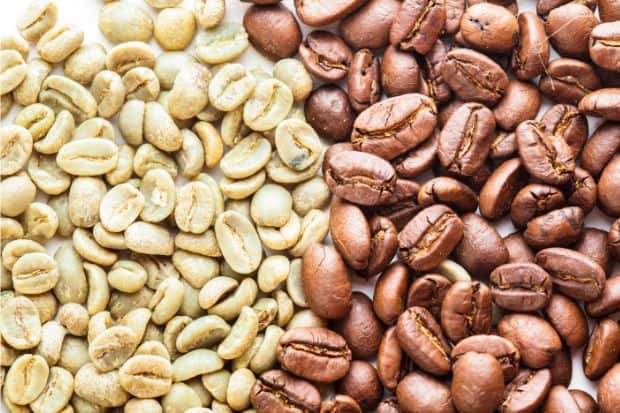
The pits are cleared of fruit and dried before being shipped as green coffee beans. If you were to smell one, it wouldn’t smell anything like coffee. The smell is quite grassy and herbal.
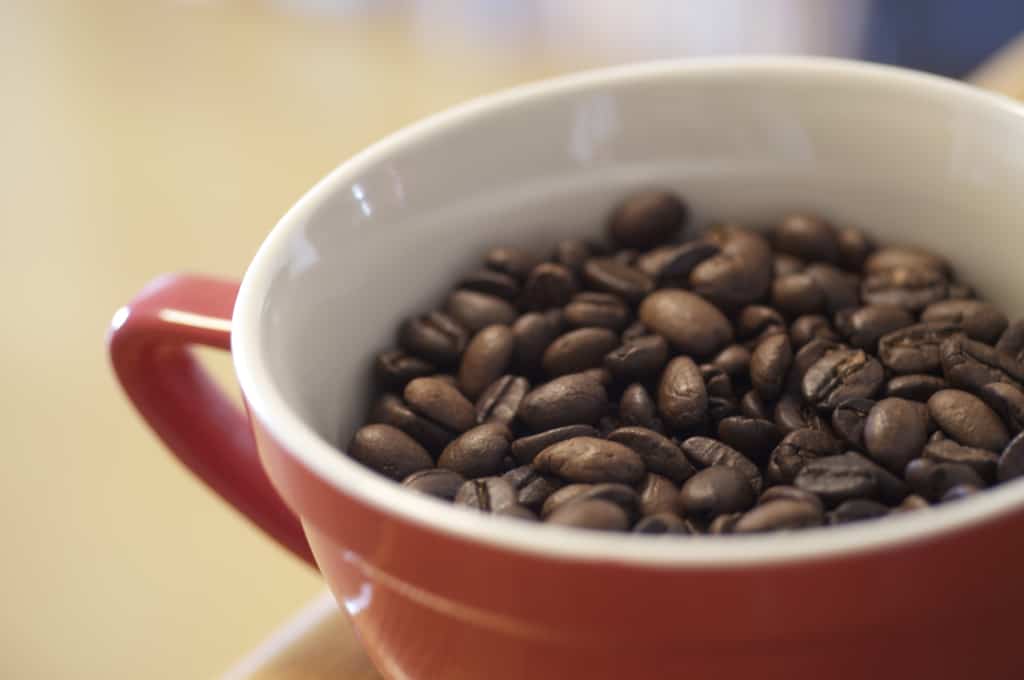
That coffee smell you know and love comes from roasting.
During roasting, the rising temperature of the bean first eliminates all remaining moisture, then initiates a series of chemical and physical changes that create flavour and aroma compounds as the bean turns from green to brown. The bean loses up to one-fifth of its mass, but grows in size by 50 to 100%, so it comes out a lot less dense.
The flavour and aroma of the coffee depend on the degree to which the beans are roasted, the duration of the roast, and adjustments in temperature during that time. Experienced roasters can coax different flavours out of the same bean with these small temperature adjustments.
Generally speaking, a lighter roast is more acidic and highlights the characteristics of the original bean. A darker roast is more bitter and its roasting flavours tend to cover up the bean’s original character.
As a beginner, a good goal would be to try for a roast that strikes a balance between maintaining the bean’s identifiable character and incorporating the flavours that come from roasting.
If you’re interested in the science behind roasting, I encourage you to dive deeper into these two articles:
- Cook’s Illustrated: The Science of Coffee Roasting
- Perfect Daily Grind: What Happens During Coffee Roasting: The Physical Changes
Coffee roasting stages
Before you start roasting, you should know the stages your beans will go through.
You’re going to roast at temperatures between 350 F and 540 F, keeping your beans constantly in motion to achieve as even a roast as possible. It is important that you are attentive during the roast. Watch, smell and listen. Do not leave your roasting beans for even a second.
Stage 1: Drying
The earliest part of the roast eliminates moisture, and it takes the longest. The beans will go from green to yellow during this drying stage.
Stage 2: Browning
Yellow beans become tan then light brown as sugars react with amino acids in the so-called Maillard reaction. The sugars caramelize and fats turn into aromatic oils.
Stage 3: First crack
Steam created by evaporating moisture cracks the bean from the inside, creating an audible crack that sounds a bit like snapping toothpicks.
Stage 4: Development
Once you are past first crack, the beans are technically coffee and could be pulled from the roast at any time. You will probably keep them roasting (unless you prefer a really light roast), and the amount of development time is entirely your choice. This is where you merge your personal preferences with whatever bean you have selected.
Professional roasters keep careful track of all this, plotting temperature adjustments over time in graphs called coffee roasting profiles, so when they nail a roast for a certain bean they can later re-create it.
Beans roasted to different levels have different names in the roasting world. You may hear terms like city roast, city-plus roast and full city roast. These represent degrees of development, although the names aren’t universally agreed upon. Before we get to Stage 5, here’s a rough guide to some of those roast levels and how the beans will look:
Note that two other types of roast—white coffee and blonde roast—haven’t even made it onto our chart. That’s because they are very specialized roasts that aren’t regularly stocked by your local roaster or supermarket.
Stage 5: Second crack
That’s right, your beans—if you let them get this far—will crack again. This one sounds more like a Rice Krispies snap than the snapping toothpicks of first crack.
Stage 6: Dark roast
Once you’re past second crack, you’re into dark roast territory and you’re getting very close to ruining your beans. You don’t want to go much past this point.
Stage 7: Burn
Leave your beans in too long, and most of those delicious compounds will turn to carbon, leaving you with a bitter, charred bean that does not make good coffee. Life moves fast.
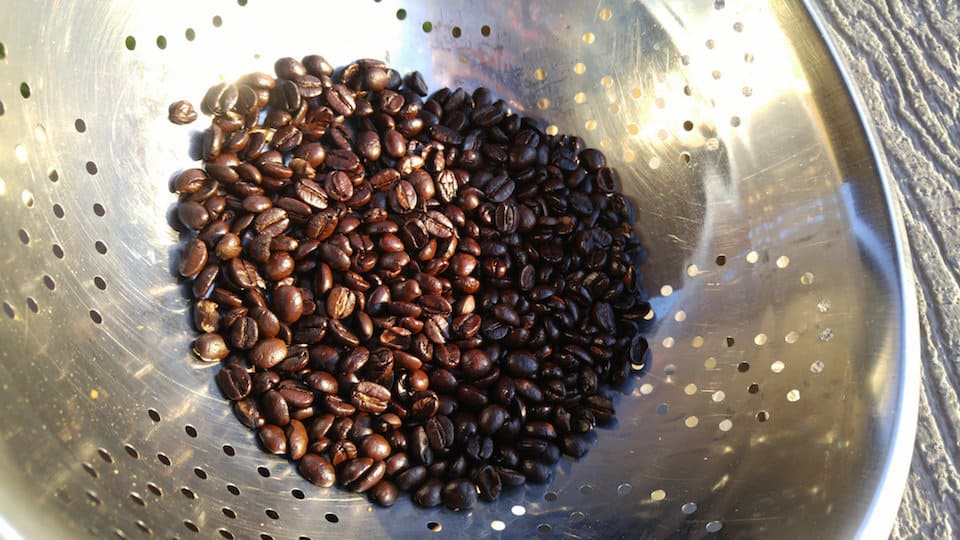
Stage 8: Cooling
Coffee beans retain heat even after you remove them, so they will essentially continue roasting on their own if you don’t cool them quickly. You can do this using a fan or by stirring in a cold colander. Cool them away from direct sunlight or moisture.
Home coffee roasting equipment
There’s no shortage of home coffee roasting equipment on the market, but if you’re just starting out you don’t need a lot—especially if you’re using one of the two methods we recommend.
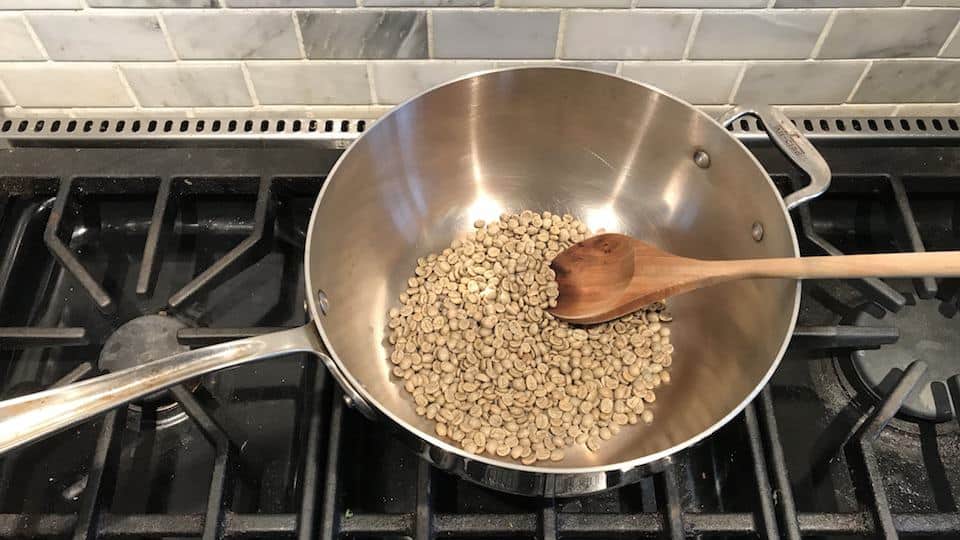
If you’re pan roasting coffee, all you’ll need is non-coated skillet. Cast iron is great. Roasting coffee in a wok works well, too. Then grab a wooden spoon and a colander that’s either enamel or stainless steel, and you’re all set.
There is an alternative stovetop method that involves a certain type of popcorn popper. If you can get your hands on a Whirley Pop, it’s essentially a large pot with a crank on the handle that connects to a stirring mechanism on the bottom of the pot. If you use one of these, you’re roasting the same way you do with a skillet, but the handle crank provides an easy way to keep the beans agitated without using a wooden spoon to stir.
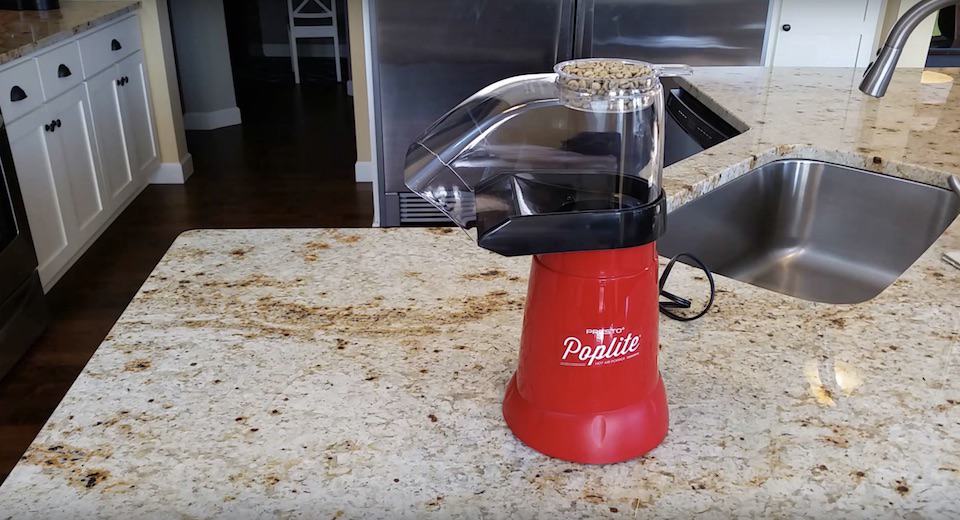
For the popcorn popper method, you’ll need an air popcorn popper (of course), a wooden spoon, a large bowl, and a colander that’s either enamel or stainless steel.
https://m.media-amazon.com/images/I/41Cm2ruiw3L.jpg
The air popper should look something like this Presto Poplite.
While the Presto Poplite was designed for popcorn, similar machines are designed specifically for coffee. They are known as “fluid bed roasters” because the beans are heated by hot air (the fluid) that keeps them tumbling and moving.
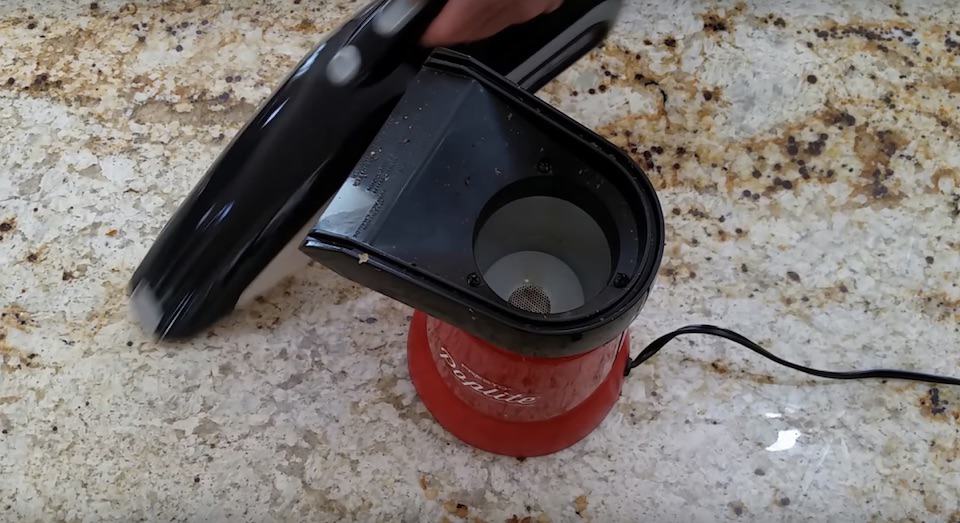
When you choose a popcorn popper for roasting, make sure it has its air vents on the side of the interior cylinder, rather than a mesh grate at the bottom.
As you move beyond beginner status, you might even buy a home roasting machine. These are a bit more costly, but they roast efficiently and allow you to control temperature and air flow using buttons. Sweet Maria’s has a great Q&A about choosing a home roaster.
Finally, you can also find drum roasters that fit onto the rotisserie of your barbecue grill. If you stick with the hobby, this is a nice way to roast larger batches slowly and evenly.
Buying green coffee beans
A roaster in your community may allow you to buy green coffee beans in person, but if that fails you can always find them online. Sweet Maria’s is a favourite online dealer in the U.S. In Canada, Green Beanery is a reliable choice.
A good move for beginners is to buy a starter pack, if you can. This will contain, say, five different kinds of beans from a variety of countries. It’s a great way to get to know the differences.
Whatever you do, don’t buy a huge batch of the same single-origin bean. If possible, buy small quantities in the beginning. If your online retailer insists on a minimum order, try to spread it around. There’s nothing worse than being stuck with five pounds of a coffee you don’t like.
Most green bean retailers know their stuff and will try to provide you with the best green coffee beans for home roasting. You might want to ask about these qualities for any particular bean:
- flavour: what it tastes like when roasted and brewed
- acidity: lends a crisp, refreshing quality to the cup
- body: how thick it feels in your mouth
- complexity: variety of flavours
Those qualities are the symptoms. They’re caused by several factors at play when the coffee is grown, including:
- climate: the general, big-picture weather conditions in the growing location
- humidity: the amount of moisture in the air
- soil: the composition of the earth where the plant is grown affects the character the bean
- altitude: beans grown at higher altitude have more well-developed sugars, which add sweetness, acidity and complexity to the coffee
- varietal: the subtype of the species
Two other important questions to ask your dealer:
- When was the coffee harvested? If it was more than a year ago, that’s too long. Buy something else.
- What degree of roast do they recommend? Most dealers have a pretty good handle on which beans can go the distance and which will shine best when taken out early.
Remember, all this fretting about which beans to buy is a little pointless if you don’t record your choice and take some notes about how you roasted them, how you brewed them, and how they tasted. The goal is to get closer and closer to your perfect cup.
For more great information on buying green coffee beans, I encourage you to visit the guide at Perfect Daily Grind.
Your beans should last a least six months, and if you’re storing green coffee beans long term, you should use an airtight container and keep them in a cool, dark place. A pantry or cupboard is ideal.
Smoke and chaff while roasting
You’re almost ready to roast, but first we have to warn you about two things: smoke and chaff.
Those beans contain oil, and when it gets hot, you’re going to see some smoke. Quite a lot of it.
Many people roast their coffee beans outside, and this is a good idea as long as it’s not too cold. If it’s cold, your roasting vessel might not get hot enough to roast the beans as far as you want them.
If you’re roasting indoors, I highly recommend doing it underneath a strong stove vent and opening some windows. If your stove vent has a weak fan, open as many windows as you can. You still might hear the smoke alarm.
Chaff is like a light skin that the coffee bean sheds during roasting. It floats around, makes a bit of a mess, and will require some cleanup at the end.
Now let’s learn how to roast coffee beans.
How to roast coffee beans in a pan
Take a look at this video from the Green Coffee Beanery and then I’ll break it down, step-by-step:
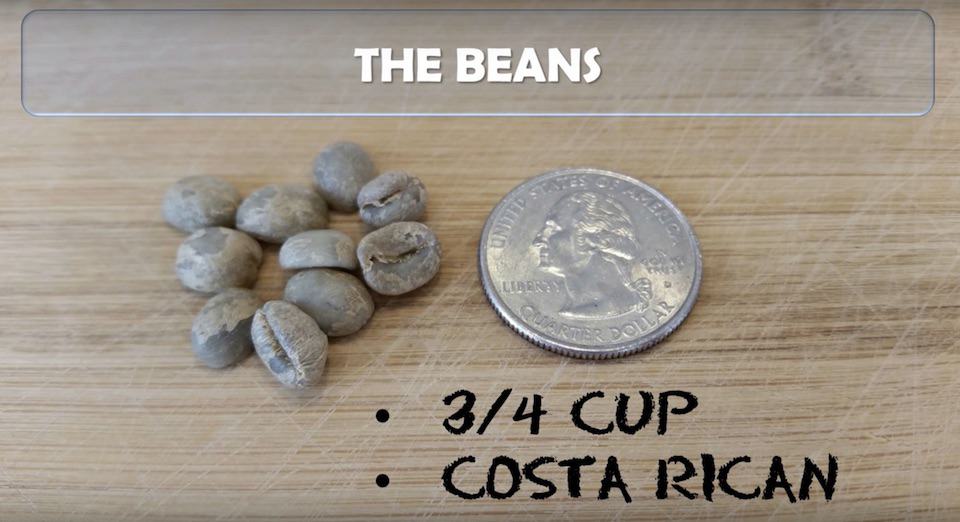
In this video, the roaster chose small Costa Rican beans so they would stir more easily. Pan-roasting is one of the most difficult methods for achieving an even roast, so you want the beans to tumble a lot. Small beans will do so more readily than large beans.
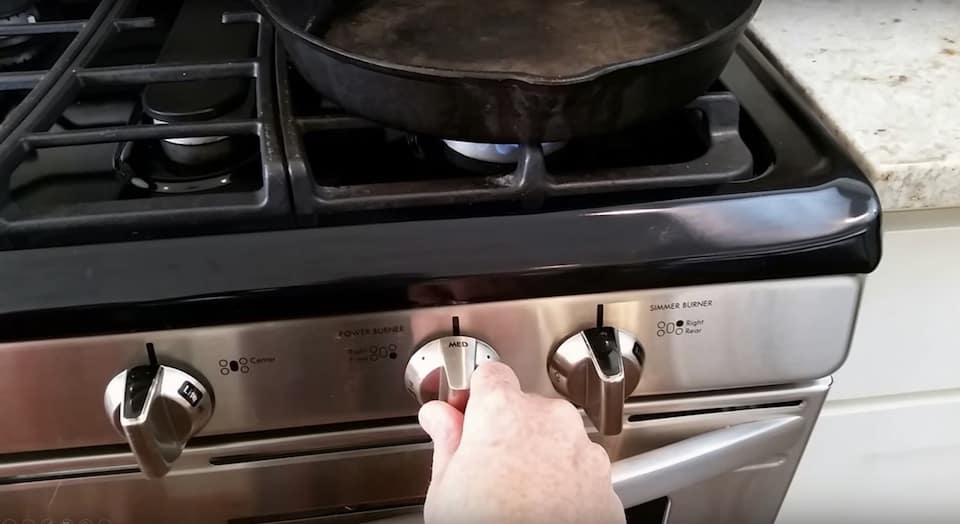
Next step is to get your skillet on the burner on medium heat. Your skillet should be cast iron or another thick, solid metal, without any non-stick coating. A wok can work as well. You can start the heat a little higher if you want, but dial it back a bit once the beans are in. Many roasters will gradually reduce the heat throughout the roast, but this is one of those things you experiment with.
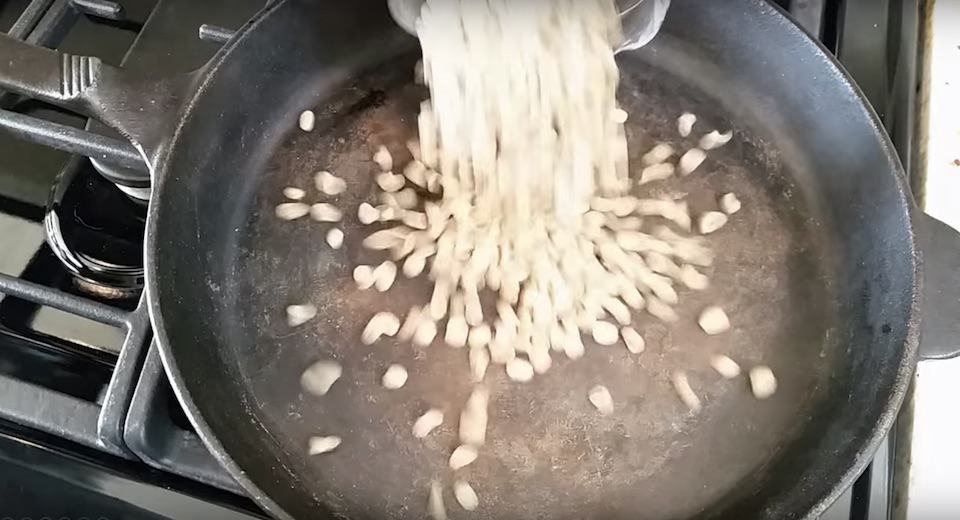
Next, in go the beans. Note that it’s a small batch. Freshness is the whole point of doing this, so don’t try to roast a huge portion of beans. Just a small batch, then do it again next week.
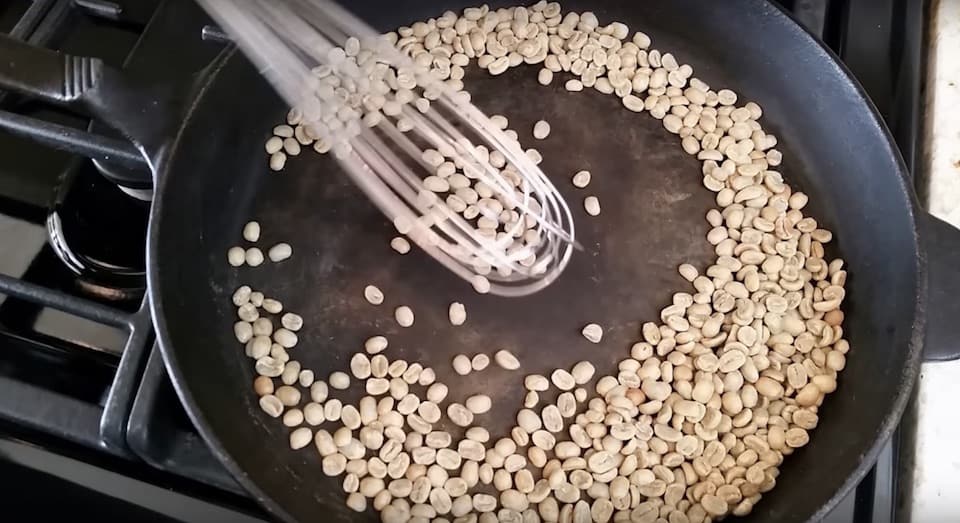
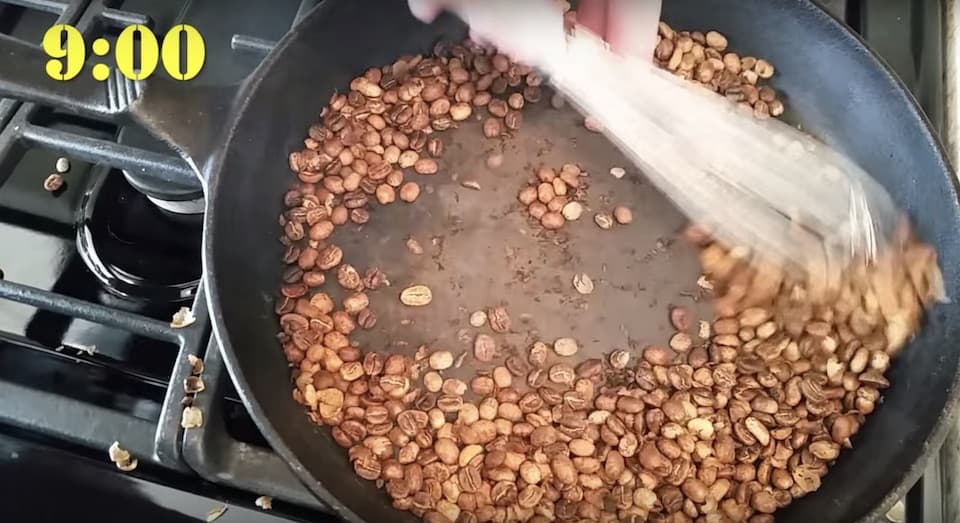
In the video, the roaster starts stirring with a wooden spoon but switches quickly to a metal wire whisk because they aren’t stirring very well. It’s so important to keep those beans moving and rolling. Also, there’s a little too much empty space in this pan, which hinders the beans’ ability to tumble and makes it harder to achieve an even roast. Aim for a depth of two beans and they should stir really well.
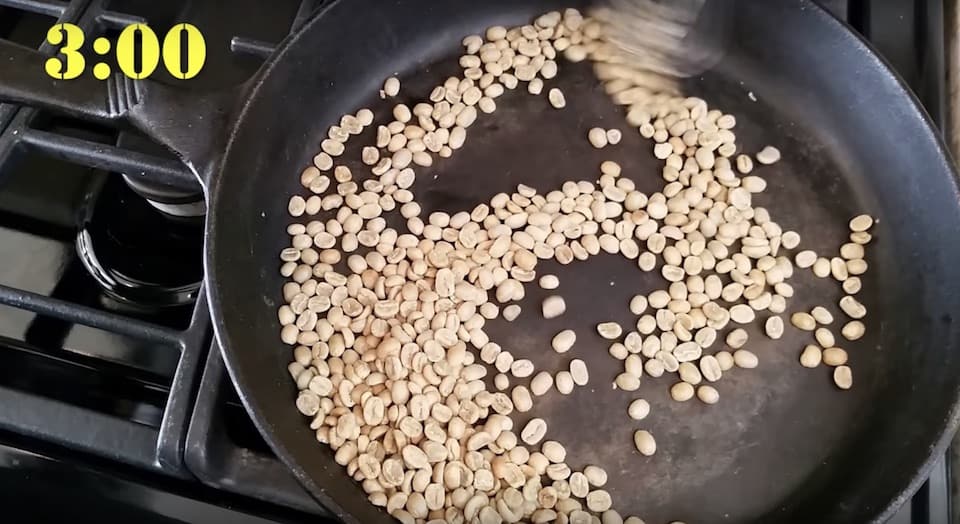
Now we’re coming to the three-minute mark, and you can see how slowly the drying stage of the roast moves along. The beans are no longer green, but other than that there hasn’t been much change in colour.
Six minutes later, the beans have browned considerably and are approaching first crack.
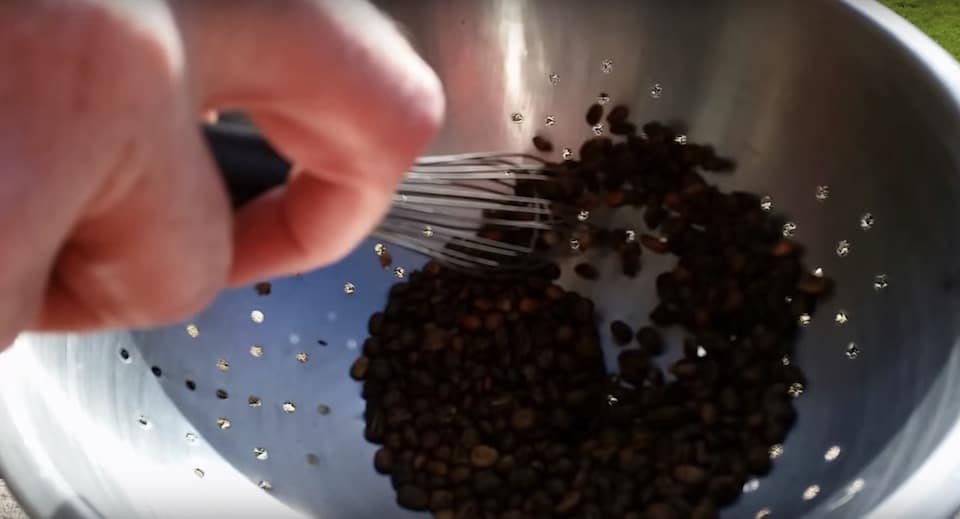
After first crack, it’s up to you how far to take the roast. Beans keep roasting for a little while after you remove them from the heat, so keep that in mind when deciding when to end the roast. Dump the beans from the skillet into a metal or enamel colander. You’ll probably have some scattered chaff in your kitchen at this point, but if you take the colander outside to stir the beans, you’ll be able to cool them quickly and dislodge most of the chaff into the breeze. Blowing on them will help, too.
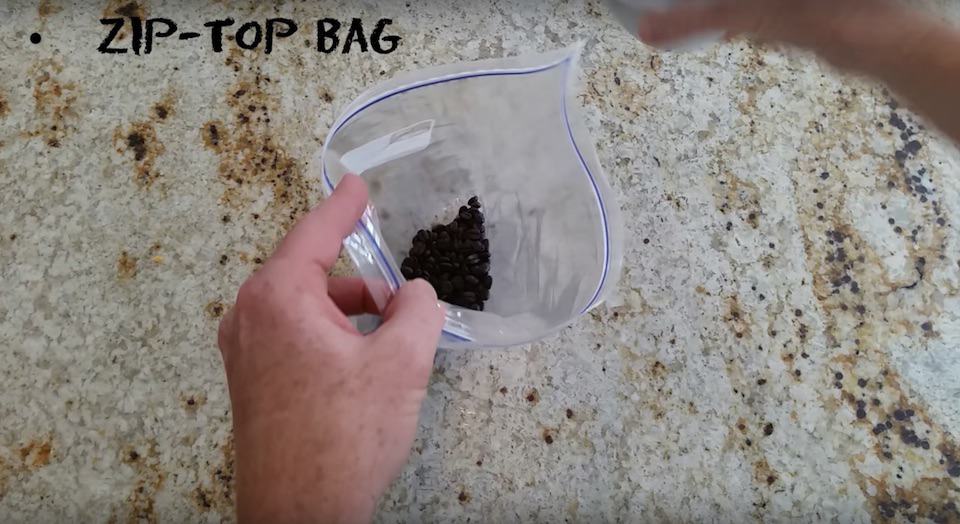
When the beans are cool, you can slide them into a Ziploc bag and push out as much air as possible before sealing. Oxygen causes beans to deteriorate, so remove as much as you can.
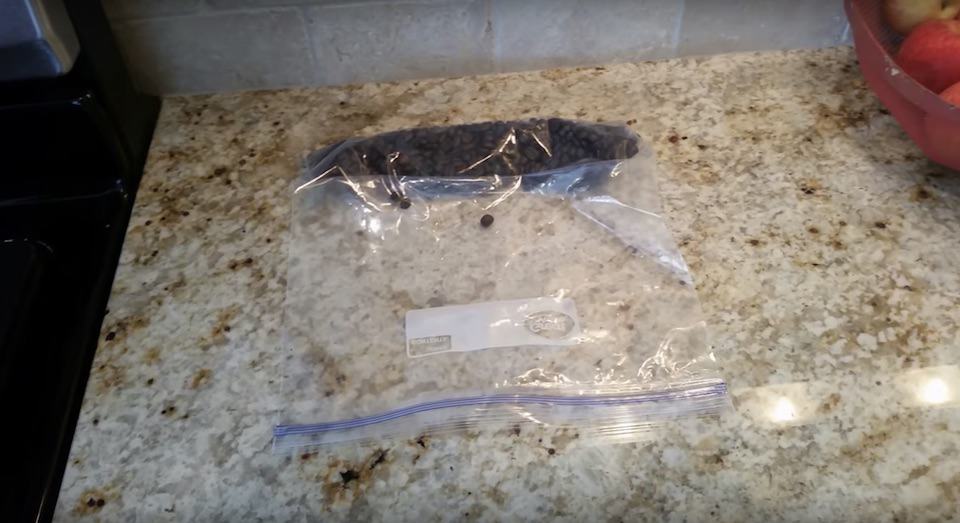
Finally, you should leave your beans to rest on the counter at least overnight before you move them to your storing vessel. They are emitting carbon dioxide gas at this stage, and you want to release most of that before you attempt to roast them. They should be good to roast after about 24 hours.
Now you can grind, roast, enjoy, and take notes!
How to roast coffee beans in a popcorn popper
Once again, let’s take a look at another video from Green Coffee Beanery and then go through it step-by-step:
These small Costa Rican beans will look familiar from the last video. However, this time they turned out to be a little to small. Not only did they roast very quickly, but a few of them also flew out of the popper early in the roast. Bigger might be better for this method.
The machine below is a Presto PopLite popcorn popper. It works fine but it roasts fast. Old-school types swear by the West Bend Poppery popcorn maker, which is no longer in production but can often be found at thrift shops or on eBay.
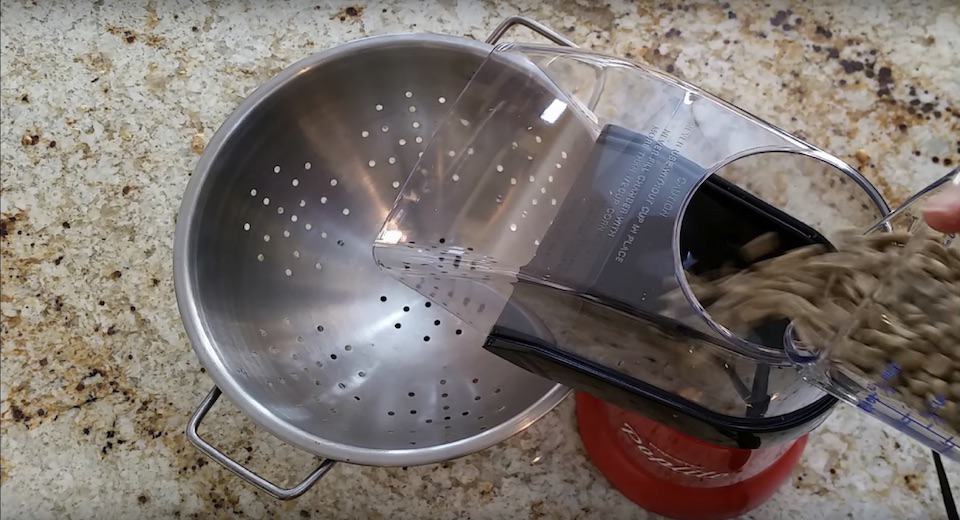
That’s half a cup of beans in the measuring cup at the top of the machine. Again, because they roasted so quickly and were quite chaotic during agitation, a slightly larger batch might work better. The roaster here decided to go with ¾ cup for his second batch.
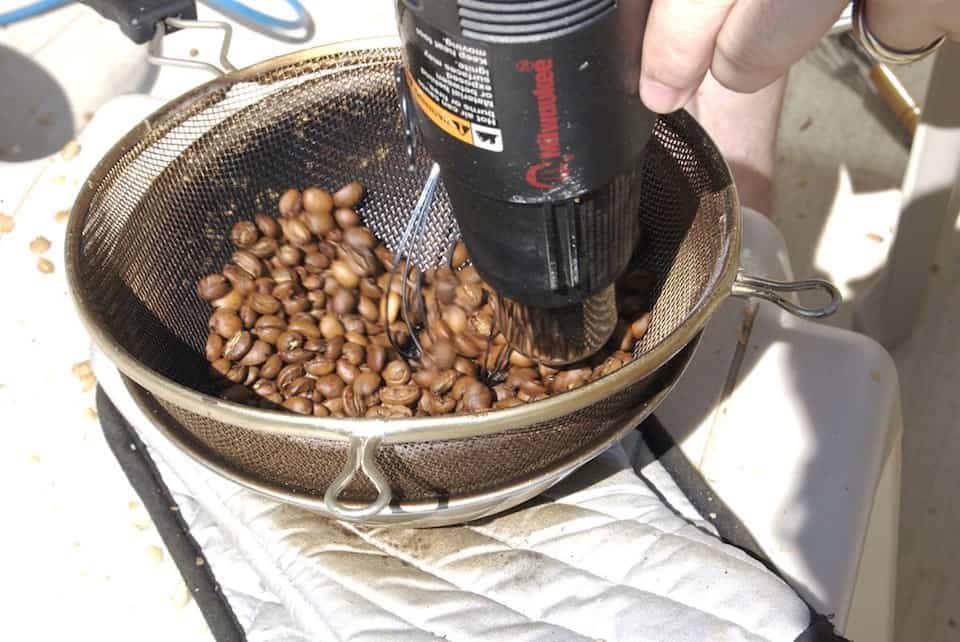
This is all going to be done out on the counter, but you will see shortly how much smoke is created. If you want that smoke to be carried away easily, roast outdoors or try a setup like this:
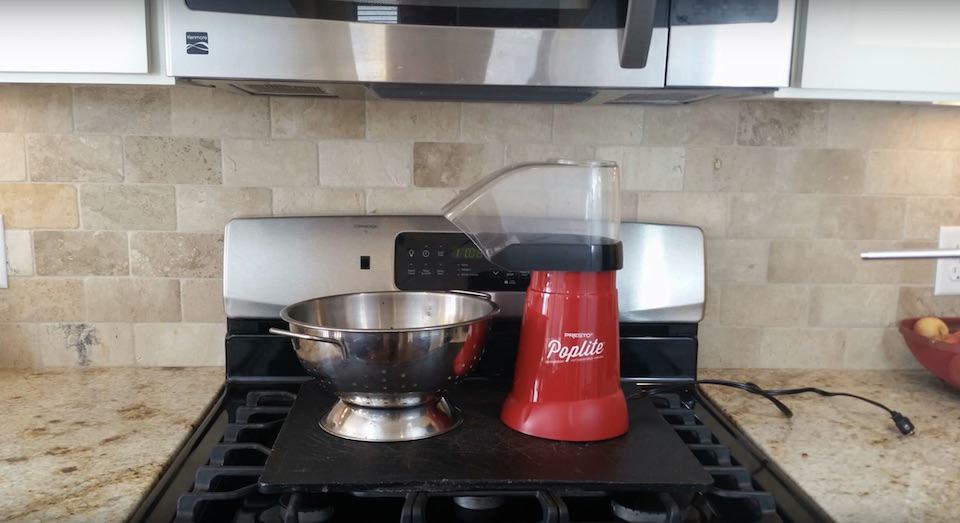
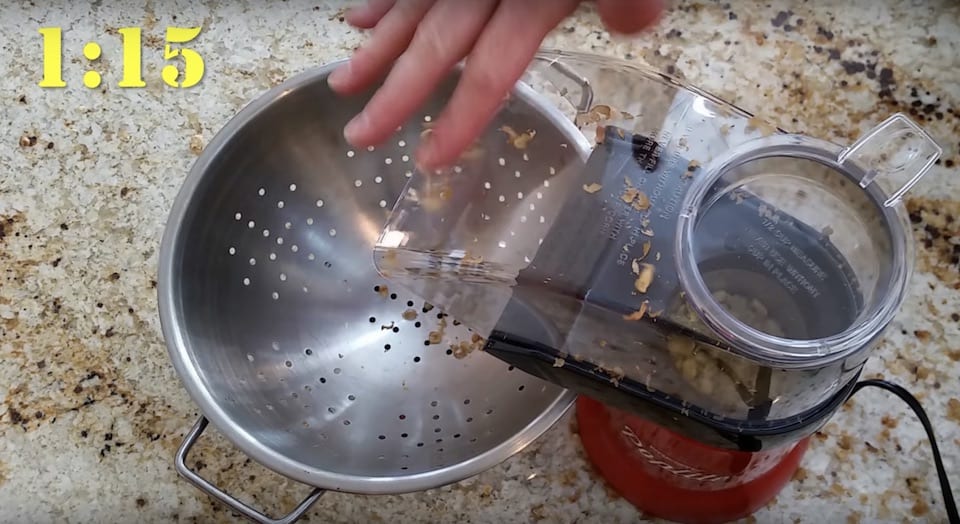
A metal colander goes under the popcorn spout before roasting, to catch the chaff.
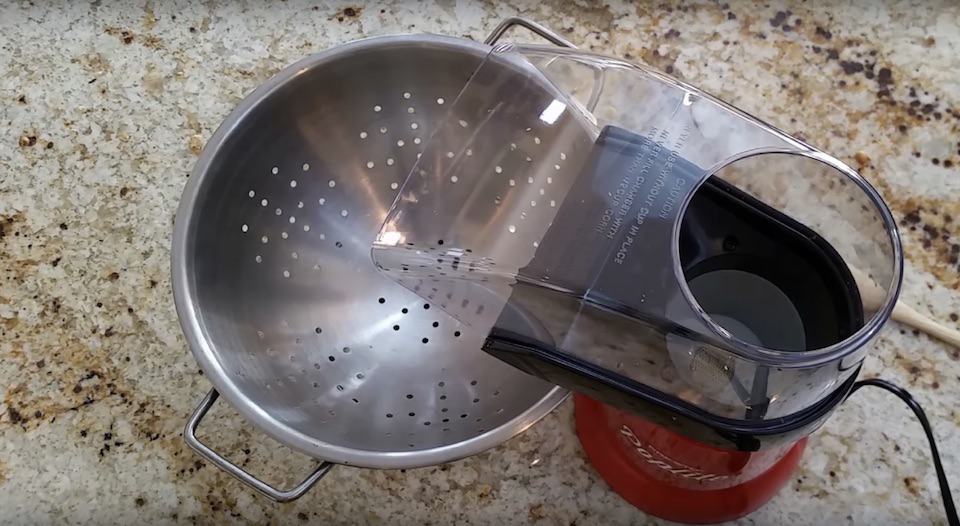
In go the beans…
Now we’re about 1:15 into the roast and you can see the machine is already spitting out quite a bit of chaff. The roaster’s hand is brushing it off the top of the machine.
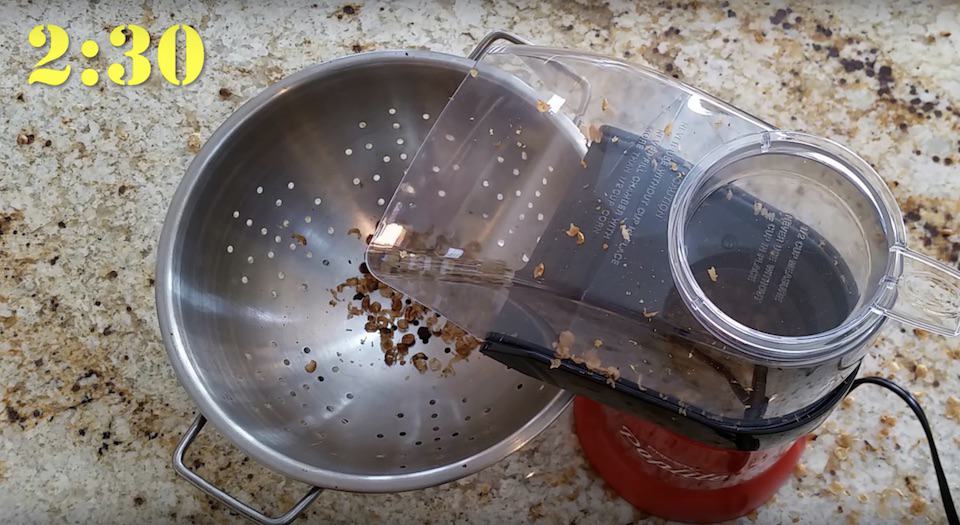
At the 2:30 mark, the beans are already at first crack.
Just 90 seconds later, second crack is upon us.
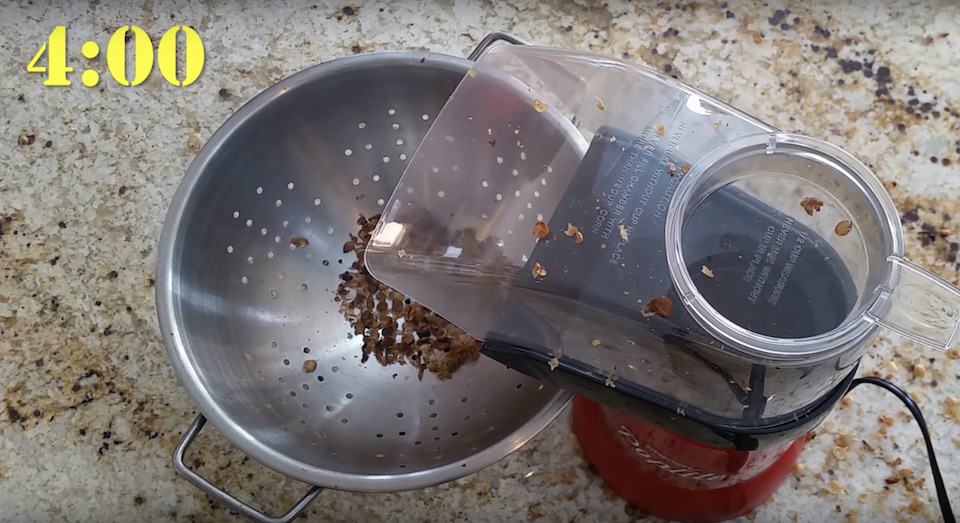
Second crack is usually a good time to pull your beans from the roast. Before you do, take a quick moment to dump the chaff out of the colander and then pour the beans in. Look at that smoke!
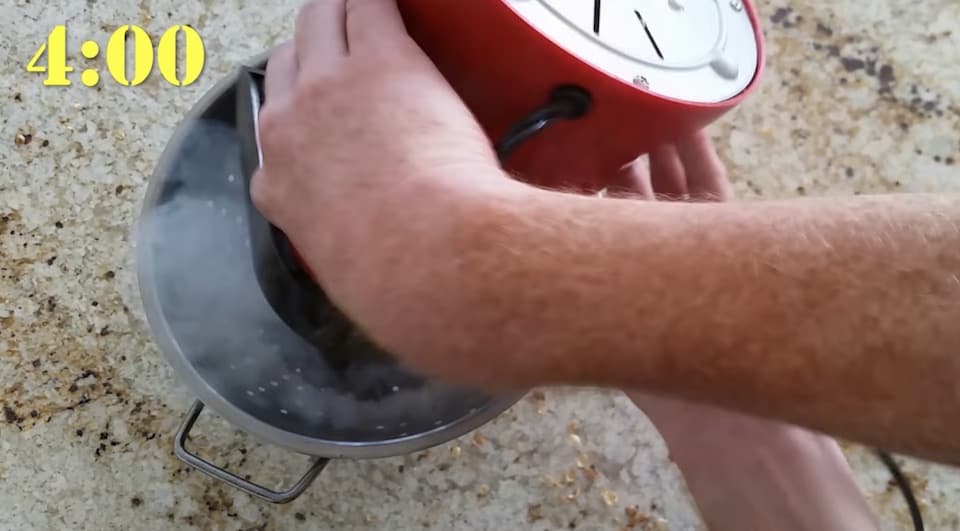
The cooling process is much the same as for pan-roasting. Just take that colander outside, stir with a wooden spoon or whisk, and blow the loose chaff away.
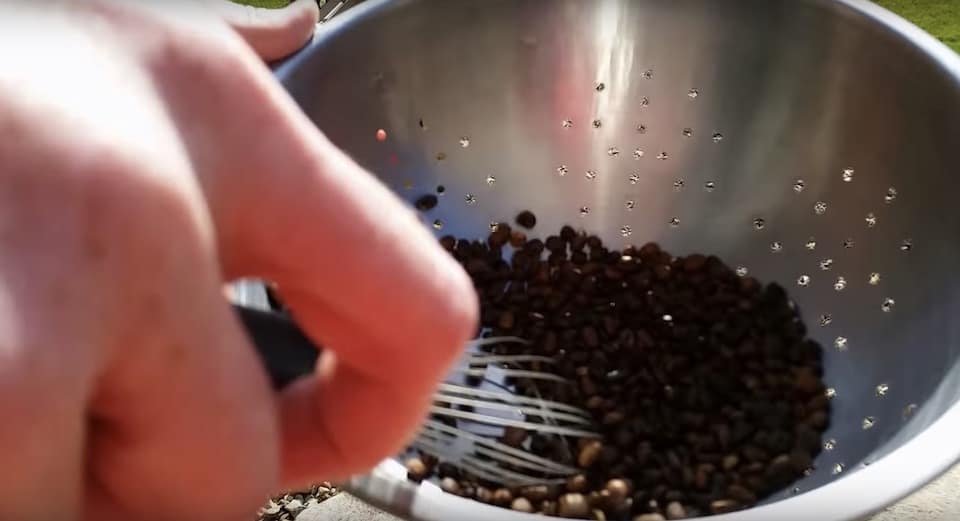
There will undoubtedly be some chaff scattered across your counter. A small hand-held vacuum is ideal for getting rid of it.
De-gassing and storing the beans should be done exactly as it was for the pan-roasting method. Just dump the cooled beans into a Ziploc bag, squeeze the air out and seal, then leave the beans to rest on a counter for at least 12 hours.
After 24 hours, you can grind, roast, brew and enjoy. Let your taste buds tell you when you should try pulling the beans out next time.
Storing roasted coffee beans
As explained above, freshly roasted beans need to be left to release carbon dioxide for at least 12 hours after roasting.
After that, you can store them in an airtight container that doesn’t allow in any light. Mason jars or Ziploc bags in the cupboard will work fine, or you can make a bulk purchase of standup coffee bags that have a one-way valve.
The idea is to keep oxygen away from the beans, because oxygen causes them to deteriorate in quality. Even your best efforts won’t stop them from losing flavour and aroma after a week or two. That’s when it’s time to roast your next batch.
Coffee roasting profiles
As you get better at roasting and learn what you like, you may want to start treating your roasts a little more scientifically by keeping a roasting log.
Roasting professionals obsess over their coffee roasting profiles. This is basically a record of the roast that tracks the beans, the conditions under which they were roasted, and the temperature adjustments that were made at various stages of the process.
Of course, this is all much easier to log when you have an electronic roasting machine with a timer and accurate temperature readings, but it’s worth trying even with more primitive roasting methods. After all, if you nail a roast, you want to be able to duplicate it as closely as possible.
Home Roast Coffee has created a handy spreadsheet for taking these notes. The variables you could log include:
- date, time and climate
- type of coffee bean, and the weight
- roasting method
- amount of heat applied, changes to temperature, and times at which they were applied
- time to reach first crack, temperature at first crack
- time to reach second crack, temperature at second crack
- total roast time and temperature reached
- final colour and roast level
- tasting notes on flavour, smell, body, etc.
And that’s coffee roasting for beginners in a nutshell. (Well, not really a nutshell, more like a really long blog post). But I hope you’ll give it a try and perhaps report back about how it goes. If you enjoy it and want to learn more, a great resource is a book called Home Coffee Roasting by Kenneth Davids. And there are sure to be some coffee roasting classes in your town.
Happy roasting!