Last Updated on September 2, 2024
I’ve had my Breville Smart Grinder Pro for a few years now. I’ve used it to grind coffee for almost every brewing method, and after much trial and error I’ve landed on my ideal settings.
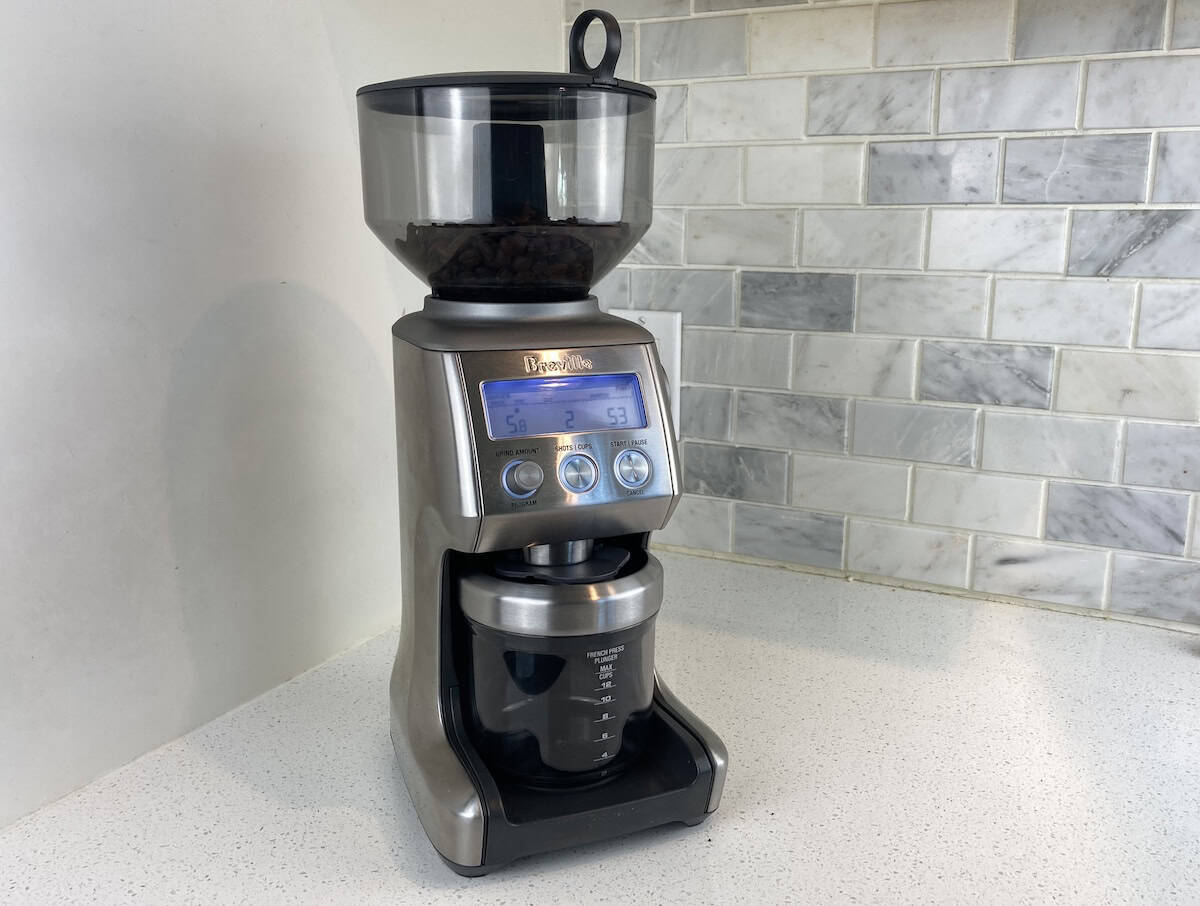
The table below shows what I believe are the best settings for the Smart Grinder Pro:
| Brewing method | Grind time | Cups | Grind size |
|---|---|---|---|
| Hario V60 | 7.6 | 3 | 50 |
| Chemex | 11.4 | 4 | 52 |
| French press | 12.4 | 4 | 55 |
| Moccamaster | 18.0 | 4 | 45 |
| AeroPress | 9.0 | 2 | 38 |
| Espresso | 9.8 | 1 | 10 |
I give a more detailed explanation for each brewing method below.
Breville Smart Grinder Pro Settings
Pour over settings
My main pour over methods are Hario V60 and Chemex.
Hario V60

I usually just brew for myself, and I like to leave enough for a little top-up once the first cup is gone. My V60 setting on the Breville Smart Grinder Pro doesn’t leave much of a top-up, but it works for a good size mug of coffee.
- Grind time: 7.6
- Cups: 3
- Grind size: 50
This usually gets me about 20 grams of coffee.
Chemex
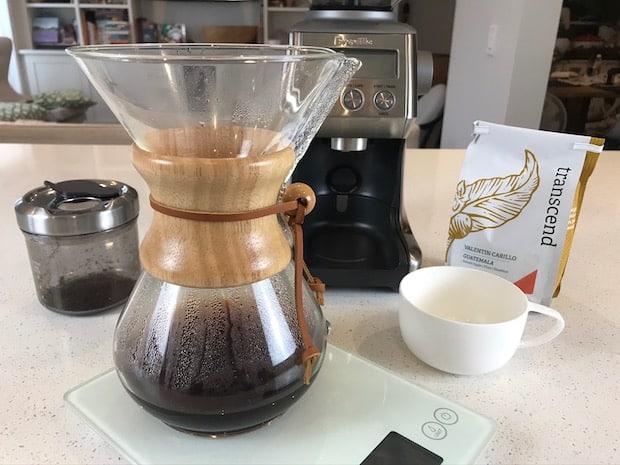
Chemex is my weekend pour-over, and I usually go a bit bigger so I can enjoy a leisurely second cup. These are my Chemex settings for the Smart Grinder Pro.
- Grind time: 11.4
- Cups: 4
- Grind size: 52
It’s a slightly coarser grind than the V60 and produces enough for two generous mugs.
French press

My weekdays usually alternate between French press and V60. These French press settings for the Smart Grinder Pro produce enough for two smaller cups, or a mug and a half if it’s just you.
- Grind time: 12.4
- Cups: 4
- Grind size: 55
That’s a bit of a coarser grind than I use for the Chemex. Steep for about four minutes, 30 seconds and you’re golden.
Moccamaster
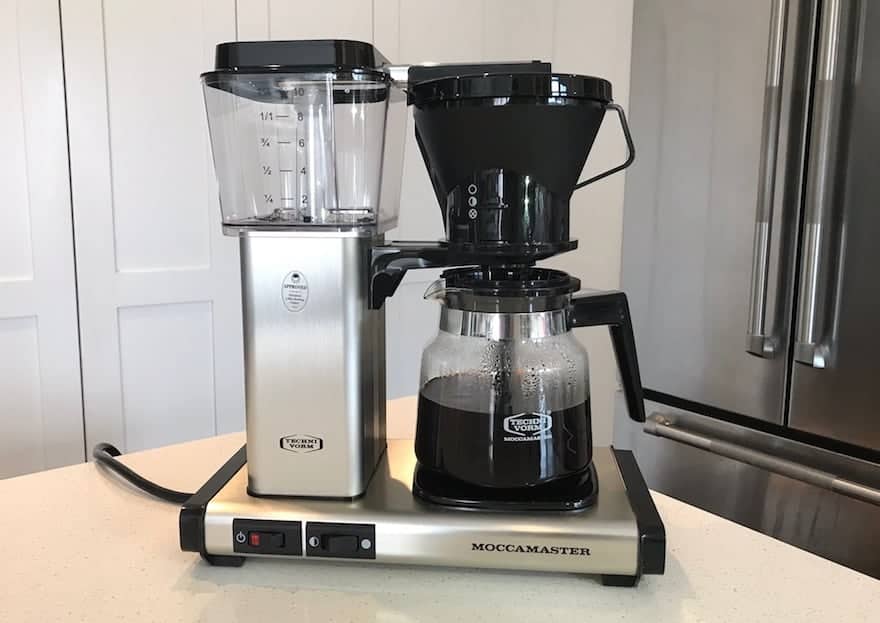
Regular readers will know that the Technivorm Moccamaster is my go-to brewer for drip coffee. I typically use it only when I’m brewing for two or more people. These Moccamaster settings should give you three good mugs.
- Grind time: 18.0
- Cups: 4
- Grind size: 45
If you have a manual drip stop, open it all the way. If you have an automatic drip stop, you have nothing to think about. Fill the water reservoir to the 6-cup line.
AeroPress

I brew with AeroPress the least. It only makes a small amount at a time, and so I find I have to make it quite strong and then dilute it with some hot water. My Smart Grinder Pro settings for AeroPress get it just right for that.
- Grind time: 9.0
- Cups: 2
- Grind size: 38
Espresso

I’ll admit it—I’m lazy when it comes to espresso. I’m more likely to pop a capsule in my Nespresso machine than pull out the espresso machine, but when I do pull a proper shot these espresso settings tend to work quite well.
- Grind time: 9.8
- Cups: 1
- Grind size: 10
Your mileage may vary. Once you get down to those really fine espresso grinds, a small tweak can make a huge difference. You should experiment and make small adjustments as necessary.
The Smart Grinder Pro made our list of the top low retention coffee grinders, since it typically does a great job of giving you all your coffee back, which is particularly important for espresso drinks.