Last Updated on December 19, 2023
I recently discovered that the moka pot is the ideal tool for brewing iced coffee.
I don’t know why I didn’t think of moka pot iced coffee before. After all, we’ve written before about flash-brewed iced coffee and Japanese iced coffee, which is essentially brewing espresso straight onto ice cubes.
Moka pot iced coffee is the same. You’re just brewing moka pot coffee, but with a twist: Just before the coffee starts flowing from the chimney, you load up the upper chamber of your moka pot with ice.
The ice cools the coffee immediately after it’s brewed, giving you a super fresh taste that you can’t get by cooling your coffee in the refrigerator for hours.

And what makes this method particularly great is that the moka pot is an ideal device for brewing highly concentrated coffee.
You see, dilution is always a problem when making iced coffee. When you mix hot coffee with ice, it’s inevitable that the ice is going to turn to water. Most of the time you end up with cool but watery coffee.
With this method, you are starting out with highly concentrated coffee, so all the dilution does is bring it back to the ideal concentration.
I’ll walk you through the method I’ve fine-tuned. It works great for me, but if you have different equipment you may wish to fine-tune it further.
How to Make Moka Pot Iced Coffee
Timing is important when making moka pot iced coffee. You want your ice to remain ice until the last possible moment. It helps to have everything set up ahead of time and within reach so you can perform the steps on cue.
What You’ll Need
- moka pot
- fresh ground coffee (medium-fine)
- a bowl
- ice cubes
- a glass
- a spoon (optional)
- sugar or sweetener (optional)
- milk or cream (optional)
Step-by-Step Method
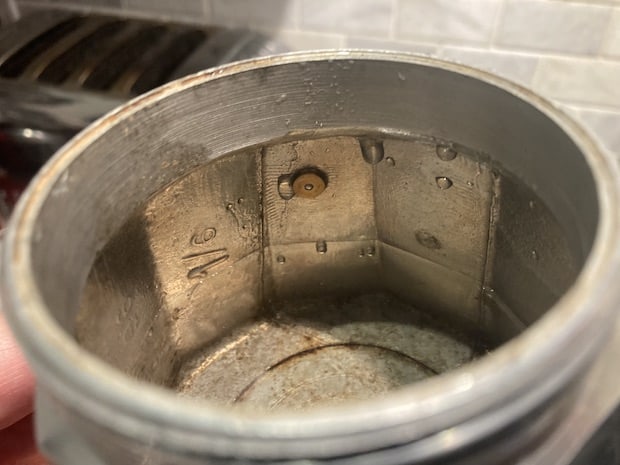
1. Measure Your Water
Fill the lower chamber of your moka pot with water to about the halfway point. Don’t go any higher, or you’ll risk an overflow once the coffee starts brewing.
2. Fill Your Filter Basket
Fill you filter basket to the very top with freshly ground coffee, then level it off with your finger or the flat edge of a butter knife.
Normally I don’t recommend filling the entire basket for moka pot coffee—I generally think you should stick to a 1:17 coffee-to-water ratio; if that leaves your coffee below the rim of the basket, so be it.
But moka pot iced coffee is different. We want this coffee to be as concentrated as possible, because it’s going to be diluted as soon as it starts brewing. So fill to the very top of that filter basket.
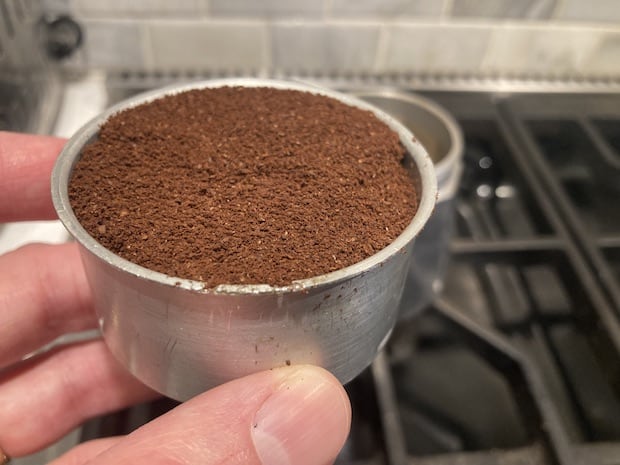
Your grind should be medium-fine, the same as you would use for your usual moka pot brewing. Probably a bit finer than you would grind for a drip coffee maker, but not as fine as espresso.
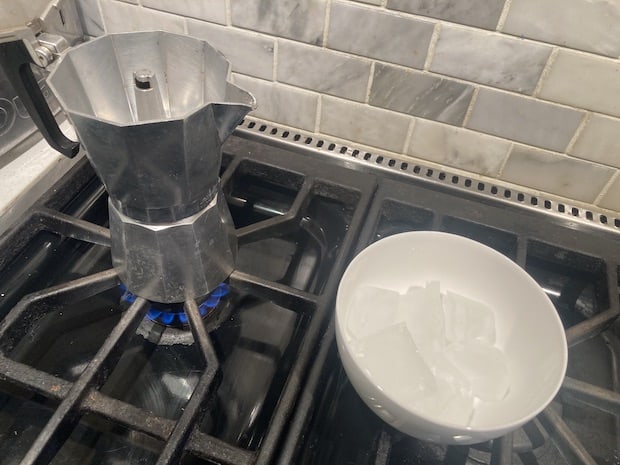
3. Heat Over Medium-Low Heat
Once your water and coffee are in place and your moka pot is reassembled, place it on a burner over medium-low heat. Leave the lid of the upper chamber open so you can monitor progress.
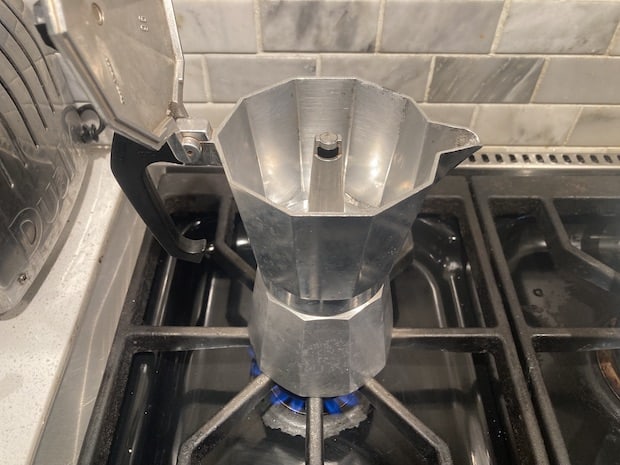
You don’t want to heat this too quickly. That’s a good rule for moka pot coffee in general, but especially for this method because you’re going to need to act fast once brewing is about to begin.
4. Prepare Ice Cubes
As the water is heating, gather enough ice cubes in a bowl to fill the upper chamber of your moka pot about halfway.
For me and my 6-cup Bialetti, this is about six ice cubes. But it will really depend on the size of your cubes and the size of your moka pot. Just don’t go overboard, because you don’t want the top chamber to overflow when the ice cubes combine with the coffee. Remember, you made sure the water in your lower chamber was no more than halfway. Same goes for the ice cubes.
Set the bowl of ice cubes aside, but within reach of your moka pot that is heating on the burner.
5. Watch Your Moka Pot
Keep a very close eye on the moka pot. You don’t want to get caught off-guard, which is another reason you’re brewing over medium-low heat.
You’re waiting for the moment when coffee is about to emerge from the chimney. If you listen carefully, you’ll first start to hear water simmering in the lower chamber. Then you’ll start to see steam emerging from the chimney.
That’s your signal. The next step is key.
6. Add Ice Cubes to Upper Chamber
When the chimney is on the verge of producing coffee, transfer your ice cubes from the bowl to the upper chamber.
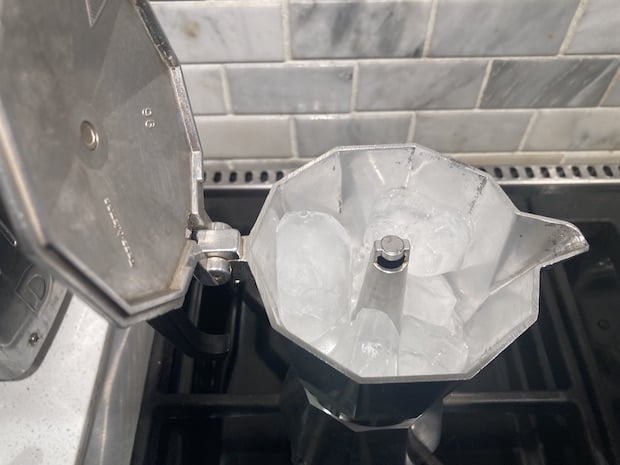
Aim to do this at the last possible moment so the ice cubes won’t melt prematurely in the hot upper chamber.
If you like your coffee sweet, this is a good time to sprinkle a teaspoon or two of sugar on top of the ice cubes.
7. Brew
The coffee will begin spouting from the chimney and spilling onto your ice cubes. The ice cubes will melt as the top chamber fills.
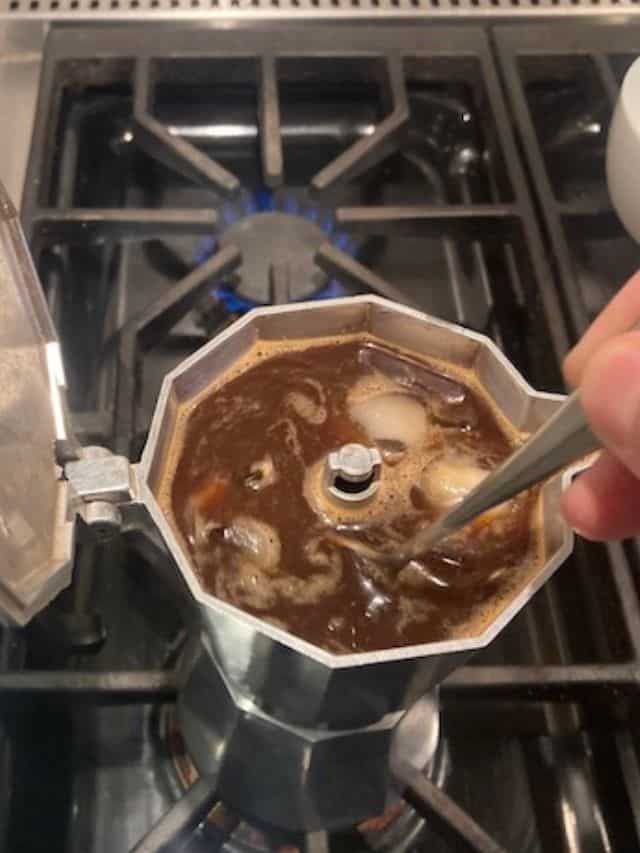
Keep the lid open and watch the brew (as you should for all moka pot brewing). When it nears the end, the chimney probably won’t sputter as much as you’re used to because the temperature isn’t as hot as usual. But you will see the flow of coffee begin to slow down, and of course, when the level of coffee in the upper chamber is nearing the top of your chimney, you’ll want to remove everything from the heat immediately.
If you have used the correct volume of water and ice cubes, the coffee should come close to the chimney opening but not reach it.
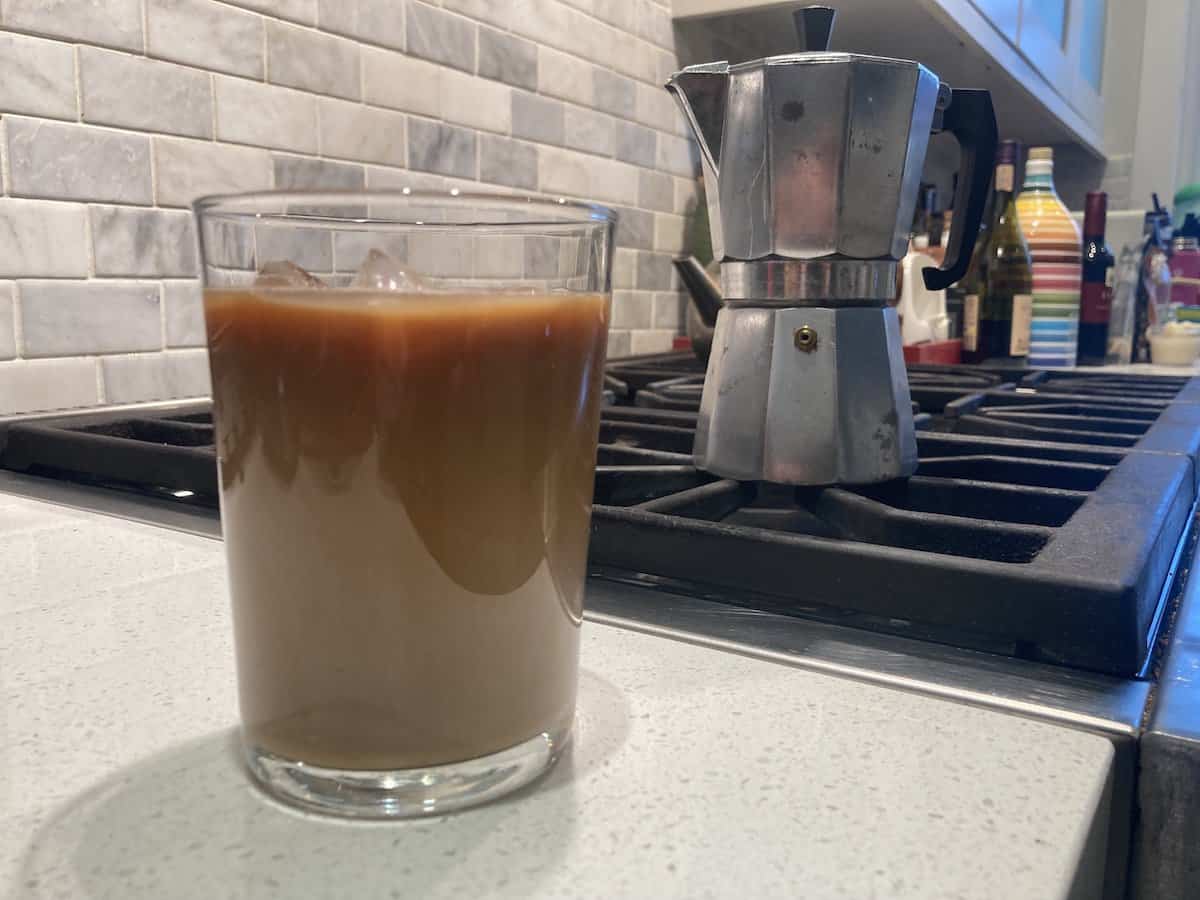
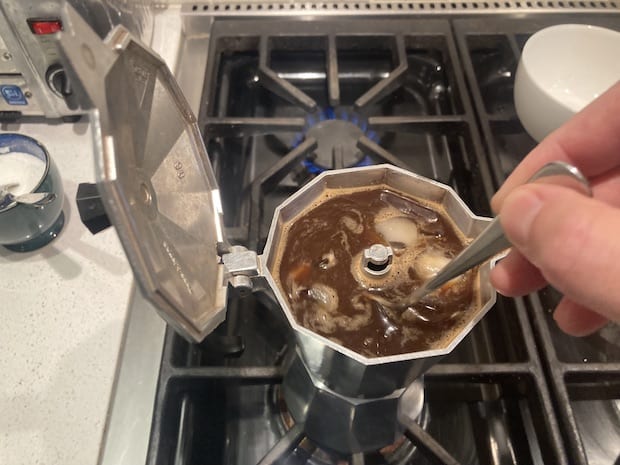
8. Prepare Glass and Pour
Your ice cubes will be mostly melted and your upper chamber will be full of lukewarm coffee. If you added sugar, now’s the time to give it a stir with a spoon to dissolve the sugar.
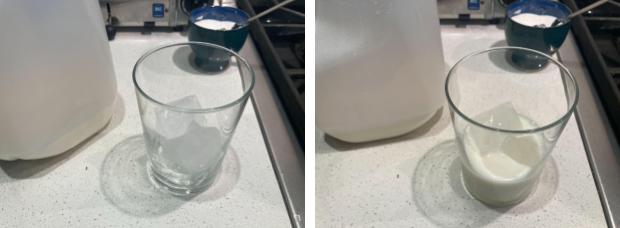
Toss a few ice cubes in the bottom of your glass and add a little milk or cream if that’s your thing.
Then pour your coffee from the moka pot on top of the ice cubes in the glass.
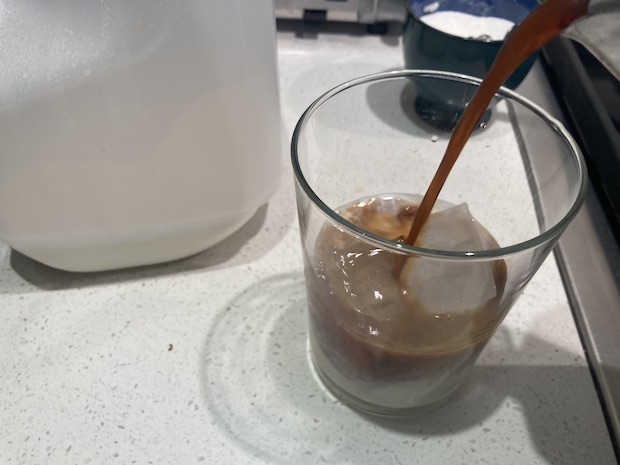
The ice cubes in the glass will hold up, because the coffee isn’t no longer hot enough to melt them.
You’ll have no more dilution and no watery coffee—just proper, freshly brewed coffee at a refreshingly cool temperature.
Taste it. You’ll see what I mean.
I’d love to hear how this method goes for you, and if you come up with any modifications that make it even better. Feel free to send me a note at erik@beanpoet.com.
Enjoy your moka pot iced coffee!